Friday, May 28, 2021
How to recover the deleted vsftpd configuration file
Sunday, May 16, 2021
Five Ways to open CMD Command Prompt with admin previlages
The slow way to open this essential power user's tool is to dig through the Start menu (Start > Windows System > Command Prompt). Here are a handful of faster ways that also give you control over startup folders and whether you run the command session as an administrator.
1.Right-click Start and choose Command Prompt or Command Prompt (Admin) from the Quick Link menu. You can also use keyboard shortcuts for this route: Windows key + X, followed by C (non-admin) or A (admin).
2.Type cmd in the search box, then press Enter to open the highlighted Command Prompt shortcut. To open the session as an administrator, press Ctrl+Shift+Enter.
3.From File Explorer, click in the address bar to select its contents; then type cmd and press Enter. That opens a non-admin Command Prompt session in the current folder.
4.In a File Explorer window, hold down Shift as you right-click on a folder or drive. That opens a non-admin Command Prompt session in the selected location.
5.Type cmd in run command box, then press Enter to open the highlighted Command Prompt shortcut. To open the session as an administrator, press Ctrl+Shift+Enter.
If you're a PowerShell user, you can open a Command Prompt session from PowerShell by typing cmd and pressing Enter. To return to PowerShell, type exit and press Enter.
Friday, May 14, 2021
How To Start WIFI Hotspot or Hostednetwork Using CMD
- Open the cmd with administrate privileges and type the following command there.
- netsh wlan show drivers- this command helps to show about the wireless driver installed in your computer.
- netsh wlan set hostednetwork mode=allow ssid=[your wifi name] key=[your password] and hit enter
- netsh wlan start hostednetwork
netsh stands for network shell
set hostednetwork mode=allow helps to allow or disallow the hostednetwork
ssid for your wifi name
key for the password
netsh wlan start hostednetwork- this will start the hostspot
Top Five Browser
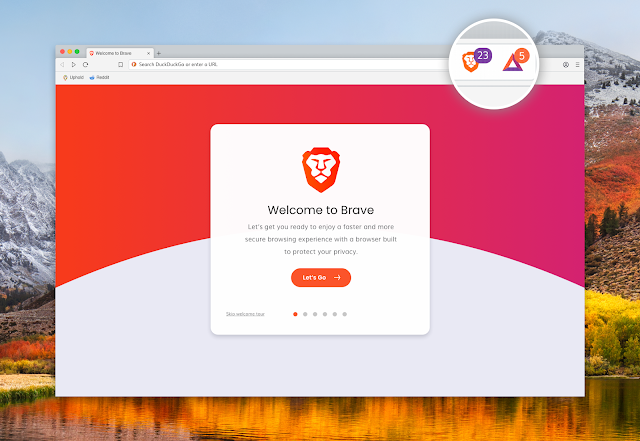
1 . Brave Browser Brave Browser is one of the best browser in the list even it is similar to all other browser because it has one of ...

-
BDCOM OLT Configuration Login to the Bdcom Olt Command To See About Interface Show interface brief Command to see ip interface ...
-
It's hard to find the details of the CPU and Memory because it needs lot of effort to know details through your command prompt and powe...
